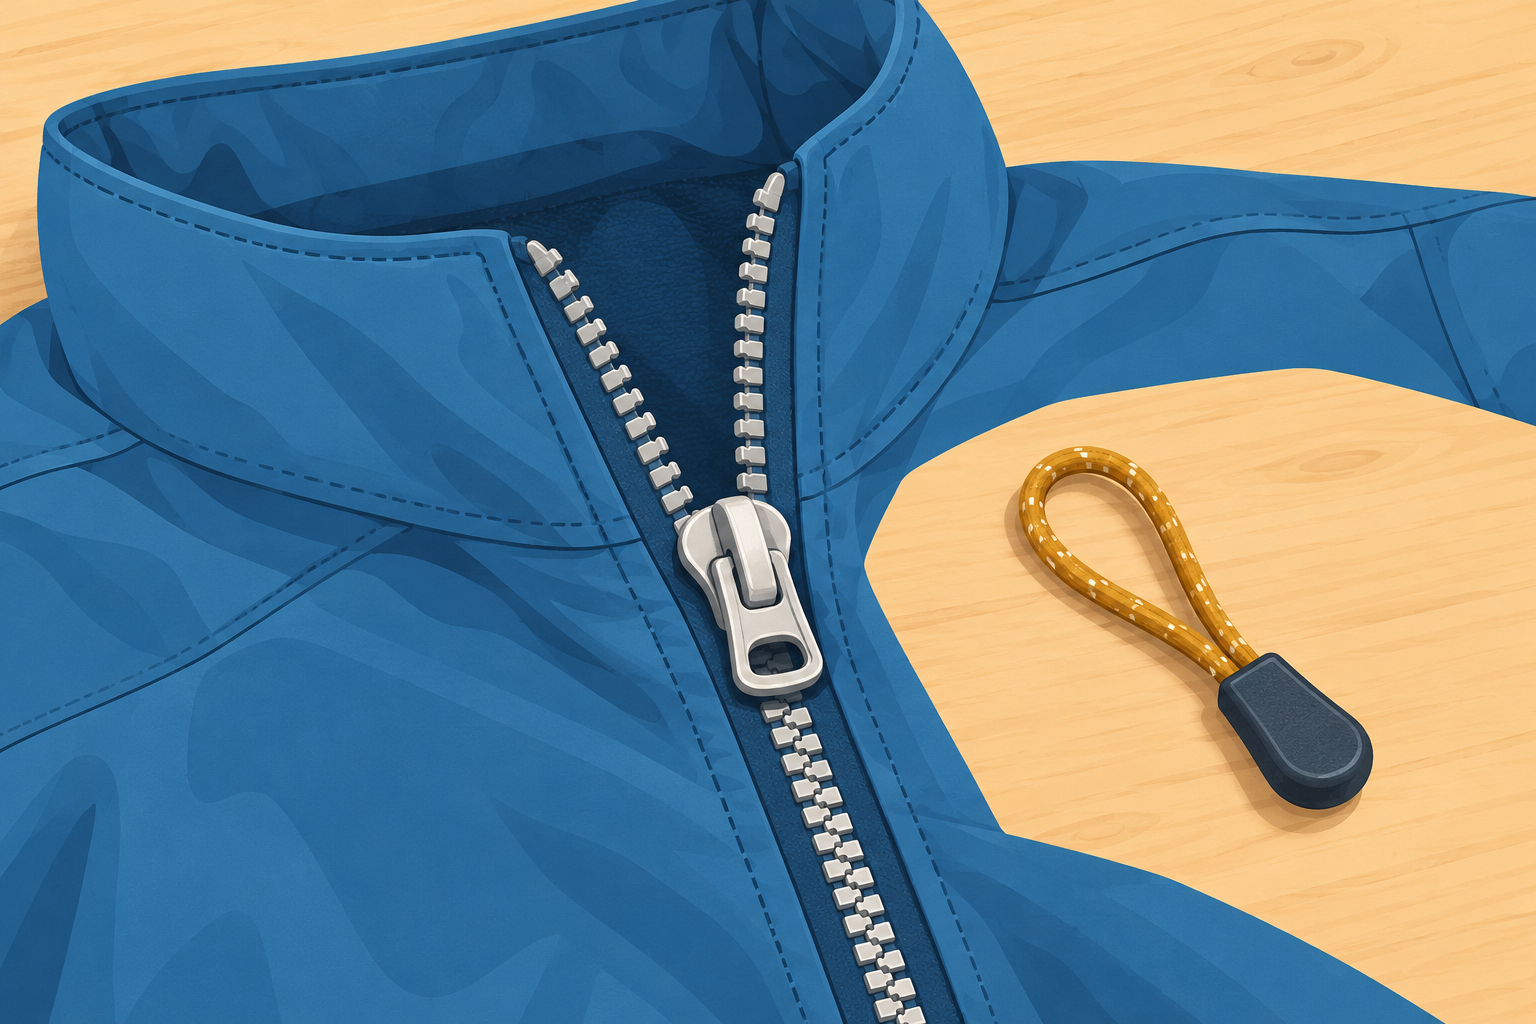
A missing zipper pull does not always mean the whole zipper needs replacing. If the slider still works and its attachment eye is intact, a looped cord pull can give your fingers something to grip again. This beginner guide covers that small, no-sew repair on adult clothing or a bag.
Allow about 10 minutes of active time. This is a research-based tutorial, not a report of our own repair testing. A cord pull will not fix damaged teeth, a broken slider or a zipper that separates behind the slider.
The hero and inline artwork are AI-generated generic illustrations, not photographs of a tested repair. Use the written checks and the source photographs for your particular zipper.
Before you start
Work with the garment off and the bag empty. Avoid sharp improvised pulls, force, glue and heat. Keep loose parts away from children. The Patagonia/iFixit quick-fix guide recommends professional repair for garments intended for children aged 3 or under. Do not use this shortcut on protective, safety-critical or waterproof equipment where the manufacturer requires a specific repair.
Why this topic?
Checked October 18, 2026, Michigan time: Google Trends Explore, United States, Web Search, all categories, past 12 months, showed the related query “how to fix broken zipper pull” up 600% within the parent search “how to.” This is annual related-query growth, not evidence that all how-to searches are rising or that this is a new daily spike.
Sources and further help
What you need
- Adult garment or bag with working zipper and intact attachment eye
- Small looped cord zipper pull with grip, or a suitable existing cord loop
Steps
-
Check that only the pull is missing
Find the moving slider and its attachment opening. If the opening is broken, the teeth are missing, or the zipper separates after closing, stop: this cord-pull fix is not the right repair. Do not pry open or bend the slider. Compare your zipper with the source photographs before proceeding.
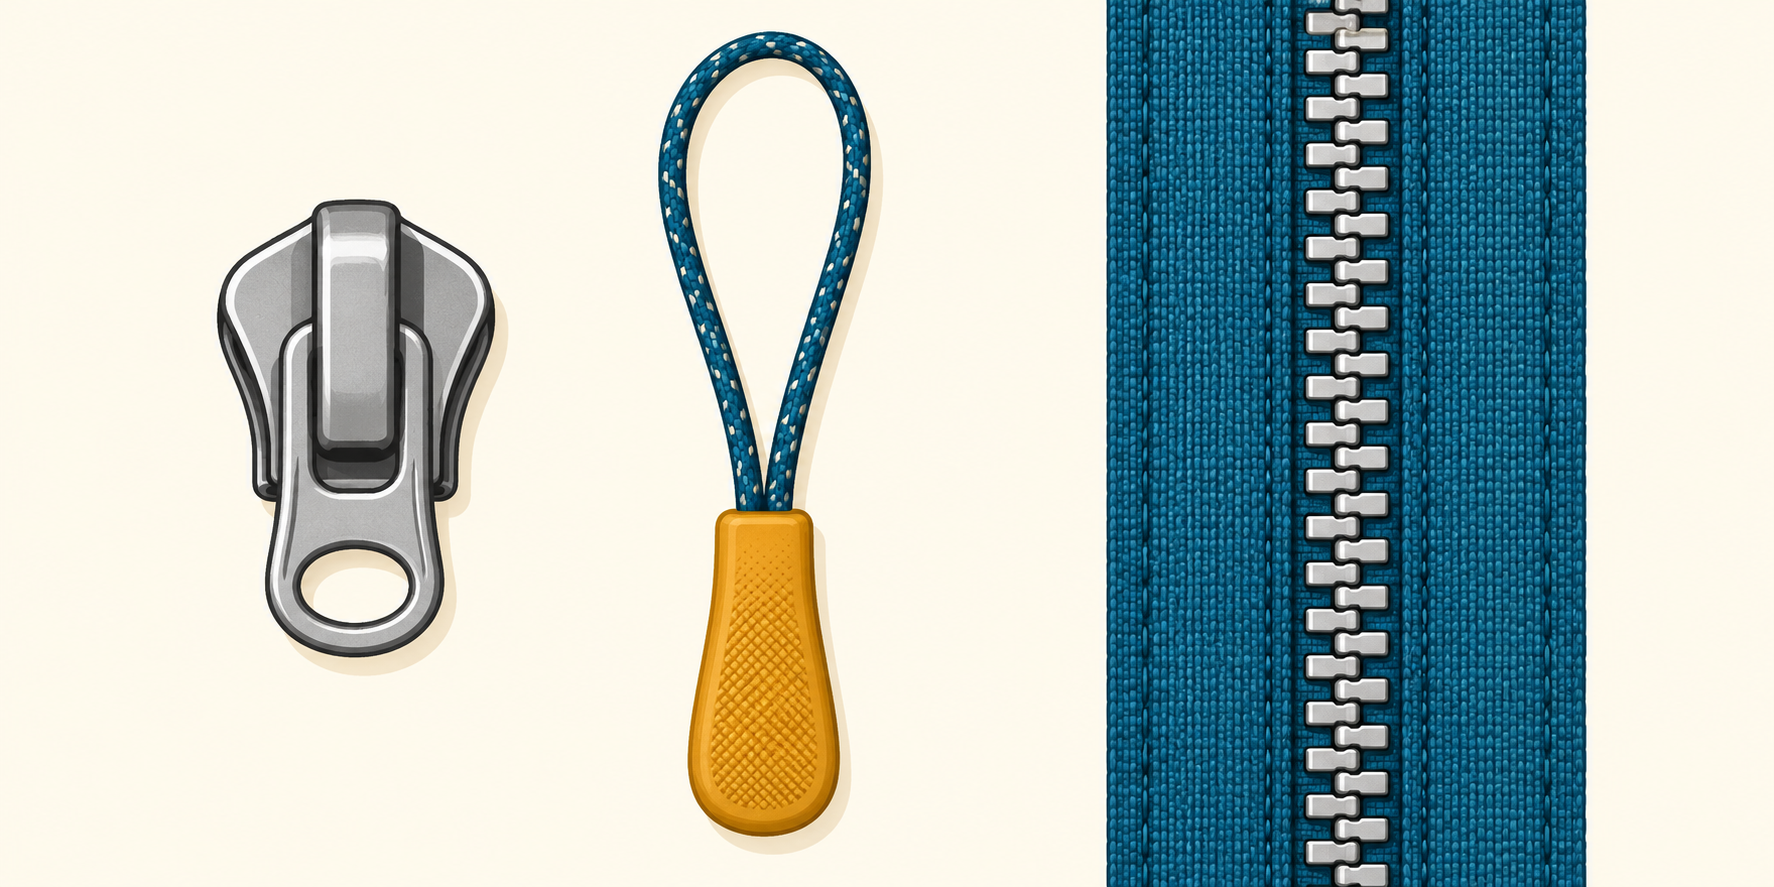
AI-generated generic illustration of zipper parts; not an exact assembly diagram or actual product photo.
-
Thread the cord loop through the opening
Use a small looped replacement pull that fits freely. Pinch its cord loop and pass it through the intact attachment hole where the old pull sat. Leave the grip outside. If the cord does not fit, choose a thinner suitable loop; do not enlarge the hole or force it through a locking mechanism.
-
Pass the grip through the loop and snug it down
Open the cord loop that came through the hole. Put the entire rubber grip through that loop, then pull it gently until the loop sits securely against the attachment point. Follow your replacement pull’s instructions if its design differs. The cord must stay clear of the zipper teeth.
-
Test gently and know when to stop
Open and close the zipper slowly with the fabric lying flat. Stop if it catches, the cord slips or the attachment bends. A successful pull replacement restores a grip; it does not rebuild worn zipper components.
Troubleshooting and common questions
The zipper still separates. What now? A worn slider or damaged zipper may need replacement. Ask the garment maker or a repair shop to assess it rather than tightening metal parts blindly.
What if there is no intact hole? This method is unsuitable. Do not drill, pry or glue on a new attachment.
Must I buy a special kit? No. A suitable loop you already have may provide a temporary grip. The fit and the zipper’s condition matter more than a brand name. Ask the maker about matching parts for a lasting repair.
Can I repair a child’s jacket this way? Use professional advice for children’s garments, particularly those for ages 3 and under, because of loose-part risks.