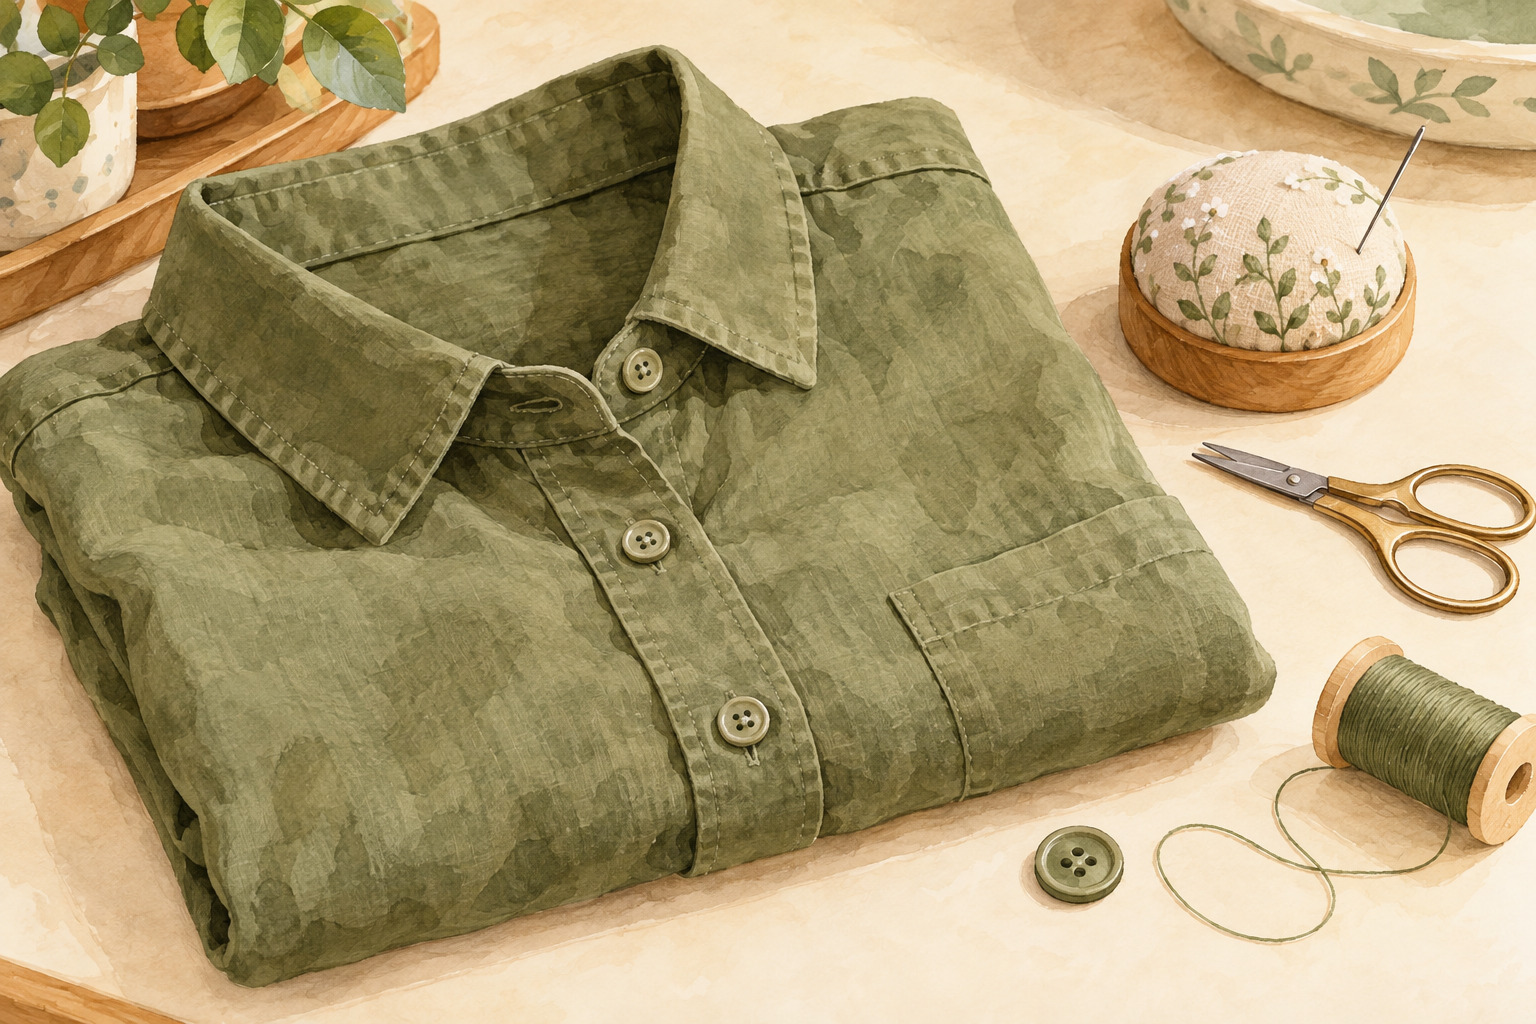
A missing button does not have to put a favorite shirt out of rotation. To replace a flat four-hole button, mark its position, stitch through both pairs of holes with doubled thread, then knot the stitches underneath. This beginner guide is for adult lightweight or medium-weight garments with sound fabric—not heavy coat fastenings, shank buttons or torn fabric.
Allow about 15 minutes of active work, with extra time if threading a needle is new to you. This is a research-based tutorial, not a report of hands-on testing.
Hero image: AI-generated generic sewing illustration, not a photograph of a real repair.
Before you start
Work on the garment off your body in good light. Keep needles, scissors and loose buttons away from children and pets. Patagonia and iFixit advise professional repair rather than this method for garments intended for children aged three or younger because of small-parts risks. If the fabric is ripped or the fastening is thick or complicated, use a repair service instead.
What you need
- Adult lightweight or medium-weight garment with intact fabric
- Matching flat four-hole button that fits the buttonhole
- Hand-sewing needle that fits the button holes
- About 24 inches of matching sewing thread
- Small scissors
- Optional tailor’s chalk; pincushion for safe needle storage
Steps
-
Match the button and mark its position
Look for a spare inside the garment or beside its care label. Check that it passes through the buttonhole. Overlap the garment fronts as they would sit when fastened and mark the matching spot lightly with tailor’s chalk, using the other buttons as alignment guides.
-
Thread the needle
Cut about 24 inches of thread. Pass it through the needle, bring the ends together and knot them. Start from the back of the fabric at your mark; pull until the knot catches without distorting the cloth.
-
Make the first pair of stitches
Bring the needle through the top-left button hole. Go down through the top-right hole and then the fabric close to your starting point. Pull gently, leaving enough ease for the buttonhole layer to fit underneath rather than clamping the button hard against the cloth.
-
Complete the second pair and repeat
Come up through the fabric and bottom-left hole, then down through the bottom-right hole and fabric. Alternate the two pairs to build several secure passes, following Patagonia’s guidance of roughly eight to ten passes overall. Keep the button aligned and the cloth smooth.

AI-generated stitch-pattern illustration: the two horizontal pairs are shown from above; underside stitches are not shown.
-
Knot the back and trim
Finish underneath the fabric. Slide the needle under the existing stitch bundle, leaving a loop; pass through that loop and pull it closed. Repeat to secure it, then cut the excess thread without clipping the knot or garment.
-
Test the fastening and put tools away
Button and unbutton the garment gently. It should close without pulling the fronts out of line. Return the needle to its pincushion and collect loose thread and spare buttons.
Troubleshooting
- Fabric puckers or fastening feels tight: redo the attachment with gentler tension and more room beneath the button.
- Button misses the hole: recheck the overlap before stitching again.
- Button is still loose or fabric is damaged: do not keep adding stitches to a weak area; ask a repair professional.
Can I use an X instead?
Yes. Patagonia describes both crossed and parallel patterns for four-hole buttons. This guide uses parallel pairs so the route is easy to follow.
Do I need a sewing machine or new kit?
No machine is used here. Start with suitable supplies you already have; only replace what is missing.
Sources and editorial note
Steps checked October 31, 2026 against Patagonia’s button-sewing guide and the Patagonia/iFixit four-hole button repair guide.
Topic inspiration: Pinterest Trends, United States, checked October 31, 2026, showed Coats & jackets outbound clicks up 38% month-over-month. Its displayed chart spans August 28–November 20, 2026 and includes a separate dashed forecast. The solid historical portion was rising; the exact historical endpoint was not labeled. This is broad shopping-click engagement—not search growth, sales or evidence that button repair itself is trending. The repair focus is an editorial choice.
For a separate decorative stitching exercise, try our beginner hand-backstitch practice. It is not the button-attachment method used here.