
For a new ordinary cosmetic moisturizer, start with a small-area trial instead of an all-over application. Plan for 7–10 days, stop if your skin reacts, and keep the simple log below. The American Academy of Dermatology (AAD) provides the testing method behind this guide.
Scope: This is general product-use education, not an allergy diagnosis or treatment plan. It is written for an adult trying an ordinary cosmetic. Do not use it to improvise testing of medicines, strong peels, hair dye or a product that previously caused a reaction; follow its instructions and ask a clinician instead. Never override a label restriction to fit this schedule.
Time: About 10 minutes to read the label and prepare a log, followed by brief checks over 7–10 days. The duration shown on this page is setup time, not the full testing period.
AI-generated hero illustration: a fictional person reading product directions; not a clinical demonstration or product endorsement.
Why this guide now?
On October 29, 2026, Pinterest Trends showed United States shopping outbound clicks for Toners & astringents up 48% month over month. Its public chart covered August 28–October 23 and rose into the latest endpoint. This is category shopping-click activity, not search growth for this tutorial, sales, or evidence that a toner will suit your skin. It inspired a cautious first-use guide, not a recommendation to buy a toner.
What you need
- One new ordinary cosmetic moisturizer, with its original label and directions
- Notebook or phone note with start date, morning/evening boxes, and space for observations
- Clean water for rinsing off the product if needed
Steps
-
Read the label and open a dated log
Check that the product fits the ordinary-cosmetic scope above. Read the directions, warnings and ingredient list before opening it. If its schedule conflicts with this guide, use the label and ask a clinician rather than increasing applications.
Write down the exact product name and today’s date. Make one row per day, with morning, evening and observation columns. Keep the packaging so your notes can be matched to the right product later.
-
Choose the small test spot
The AAD suggests a quarter-sized area underneath the arm or at the elbow bend, where the product will not be rubbed or washed away. Use calm, unbroken skin; do not use an existing rash as your test area.
Describe the location in your log so you check the same place each time. Do not put another new product on that spot during this trial.
-
Apply the normal amount for that spot
Use the usual amount and thickness for the small area, not a thick mound. Leave a leave-on cosmetic on as directed. For a rinse-off product, the AAD advises five minutes or the time on its directions; never exceed a shorter label limit.
Record the application time. The illustration below is schematic and is not a dosing guide.
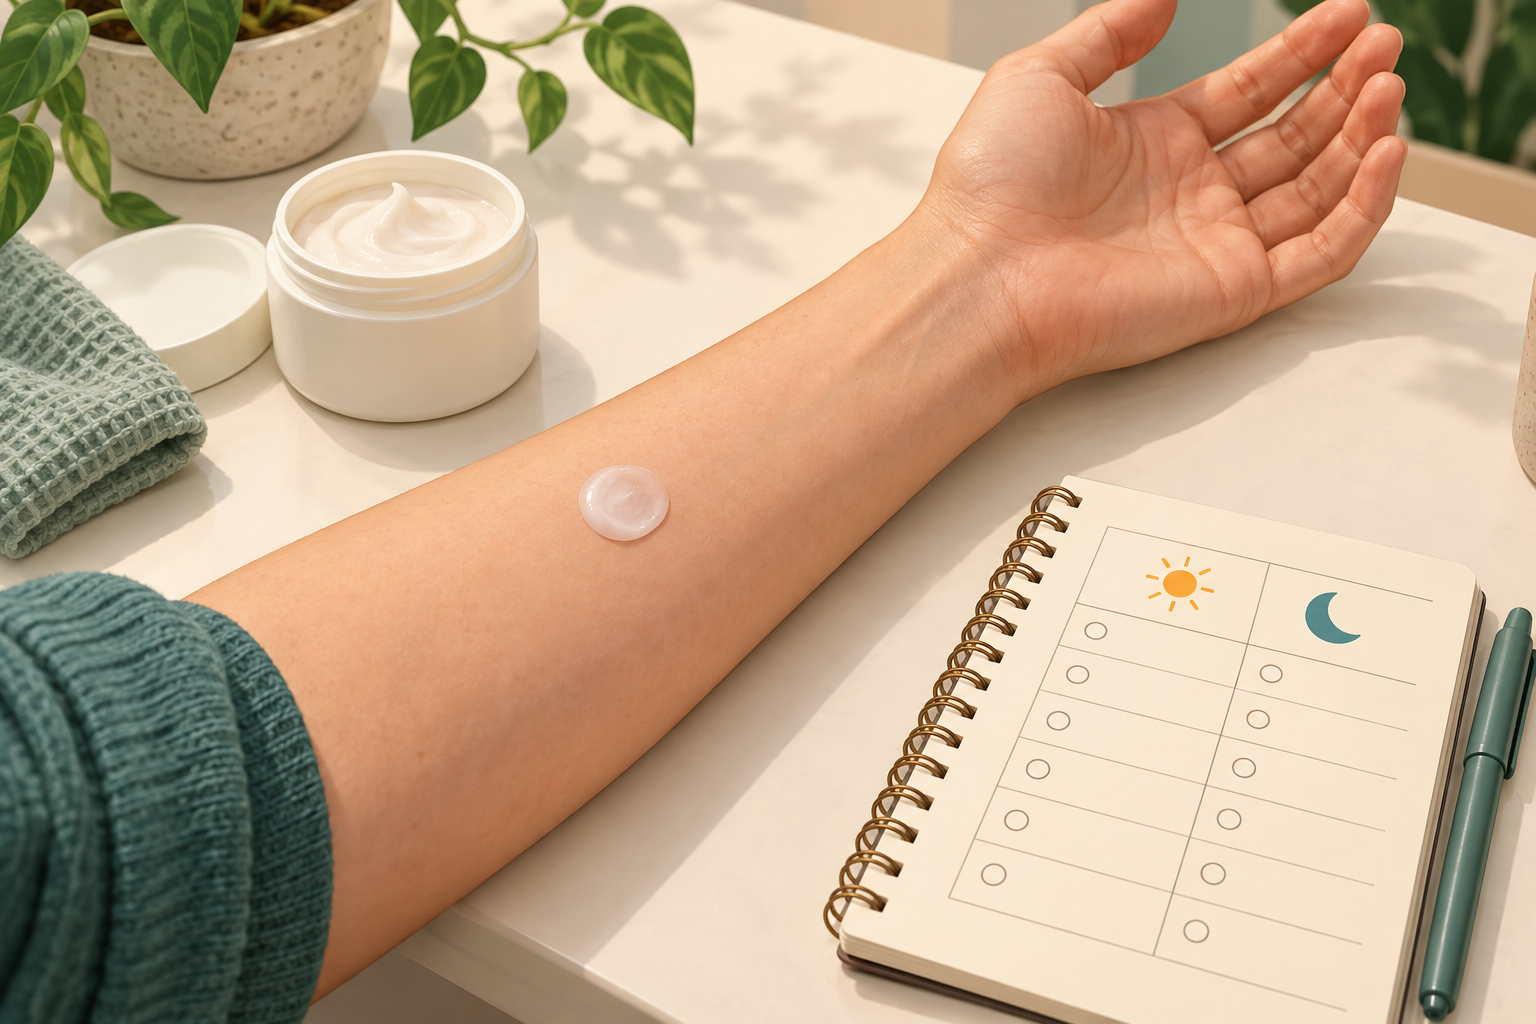
AI-generated illustration: fictional forearm, cosmetic and tracking notebook. The cream dot is schematic, not the amount to apply; follow the product directions.
-
Repeat and record for 7–10 days
The AAD’s general schedule is twice daily for 7–10 days, provided the product directions allow it. At each check, note how the spot looks and feels before another application. If redness, itching, swelling or other irritation appears, stop rather than pushing through.
Mark only applications you actually completed. A blank box is more useful than an invented entry. Keep notes brief: date, time and what you noticed. This log is an organizational aid, not a diagnostic score.
-
Review the record before wider use
If there has been no reaction after 7–10 days, the AAD says you can begin using the product. Continue to follow its label. Keep your dated record; a clear small-area trial is not a guarantee of future tolerance on every body area.
Troubleshooting: stop rather than guess
- The spot reacts: Gently wash the product off and stop using it. Do not keep applying it to complete the checklist.
- The reaction is severe, persists or keeps returning: Contact a dermatologist. Bring the product label and your notes; do not try to identify an allergen from the ingredient list alone.
- Breathing difficulty or a sudden severe reaction with swelling: Seek immediate medical help.
Frequently asked questions
Is this an allergy patch test?
No. Medical patch testing is a clinician-supervised diagnostic process using selected allergens and follow-up readings. This home cosmetic trial cannot tell you which ingredient causes an allergy. Do not tape cosmetics under homemade patches to imitate that procedure.
Does one comfortable application finish the trial?
No. This guide follows the AAD’s multi-day method, not a one-use shortcut. A log helps you see what you actually did; it does not turn the process into a medical test.
Do I need to buy a testing kit?
No special kit is used in this guide. Use the product you already planned to introduce, its directions and a simple note. If comparing purchase options later, our online sale-price comparison guide can help with the shopping arithmetic, not skin-safety decisions.
Sources and limits
- AAD: How to test skin care products — the general small-area method and reaction advice.
- AAD: Patch testing can find what is causing your rash — why clinical allergy testing is different.
- Pinterest Trends — United States, Toners & astringents, outbound clicks +48% month over month; August 28–October 23, 2026 chart, checked October 29, 2026.
Sources checked October 29, 2026. No product was personally tested for this article. Images are AI-generated. No affiliate links are included.